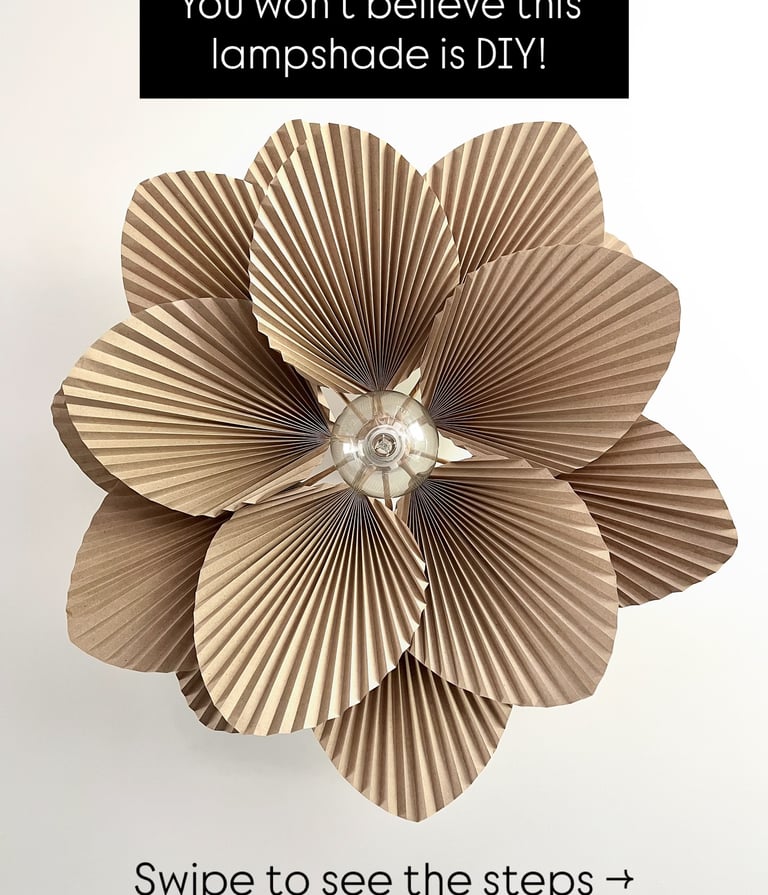
DIY Boho Brown Paper Lampshade – The Budget-Friendly Project Everyone Compliments
DIY Boho Brown Paper Lampshade – The Budget-Friendly Project that will Inspire your Home
DIY
If you're looking for a creative DIY project that transforms your space and gets endless compliments, you’ve found it.
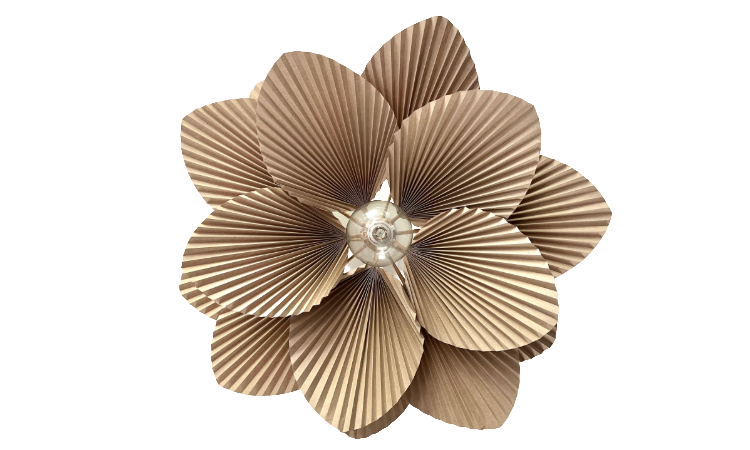
This handmade DIY brown paper lampshade is budget-friendly, beginner-friendly, and absolutely beautiful. It started as a last-minute idea when I couldn’t find a lampshade that fit my style or my budget—and it ended up being one of the most complimented pieces in my home.
In this post, I’ll walk you through exactly how to make it step by step, with simple materials you probably already have lying around. I’ll also link the affordable tools and materials I used (some are affiliate links), so you can get started right away.
"This post contains affiliate links and I may earn a commission if you purchase through these links"
✨ Why You’ll Love This DIY Lampshade ✨
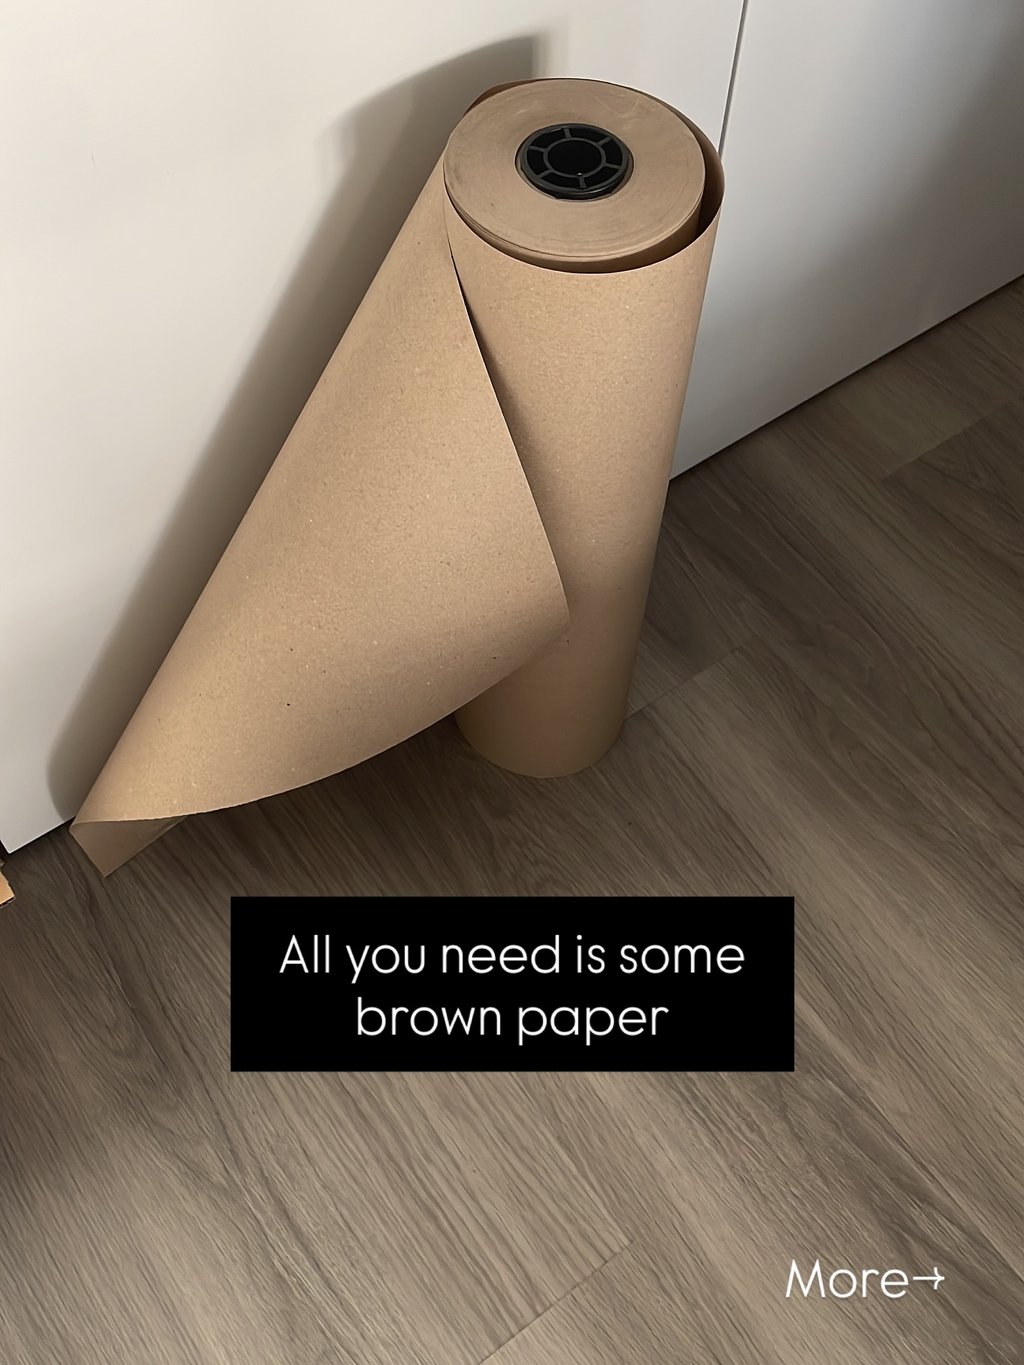
Budget-friendly – Made with brown paper, wire and tape. Seriously.
Beginner-friendly – No fancy tools, just scissors, a ruler, and patience.
Mindful & creative – Folding paper is meditative, and the end result feels personal and handcrafted.
A guaranteed conversation starter – Everyone asks where I bought mine.

🛠️ What You’ll Need
Here are the exact materials I used (affiliate links included for your convenience):
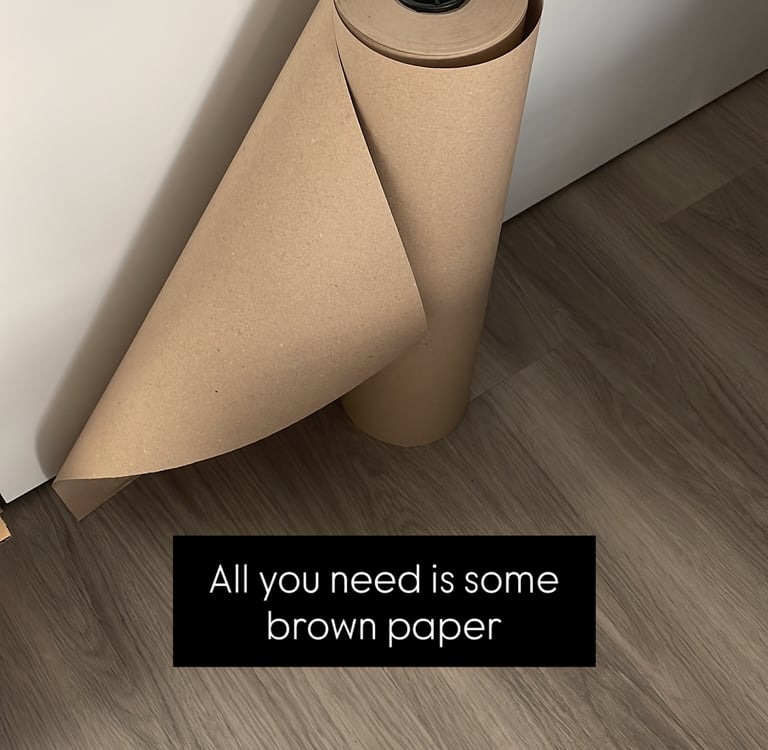
Brown paper I used brown craft wrapping paper – but any similar paper will work as long as it’s slightly stiff and large enough.
Scissors A good pair of sharp craft scissors will make clean cuts easier.
Ruler or measuring tape For measuring your folds and scaling your design. I used a metal ruler like this.
Tape Use brown paper-based tape or masking tape that matches your paper.
Craft wire To shape and support the lampshade. I used 3mm soft wire — sturdy but flexible.
Light Bulb This shade works best with a basic hanging bulb or pendant fitting. Make sure you pick the right type of attachment: E27 Edison Screw light bulb or B22 Bayonet light bulb.
Lampshade Reducer Ring: Optional Lampshade Reducer rings to help hold petal layers in place safely
📝 Step-by-Step Instructions
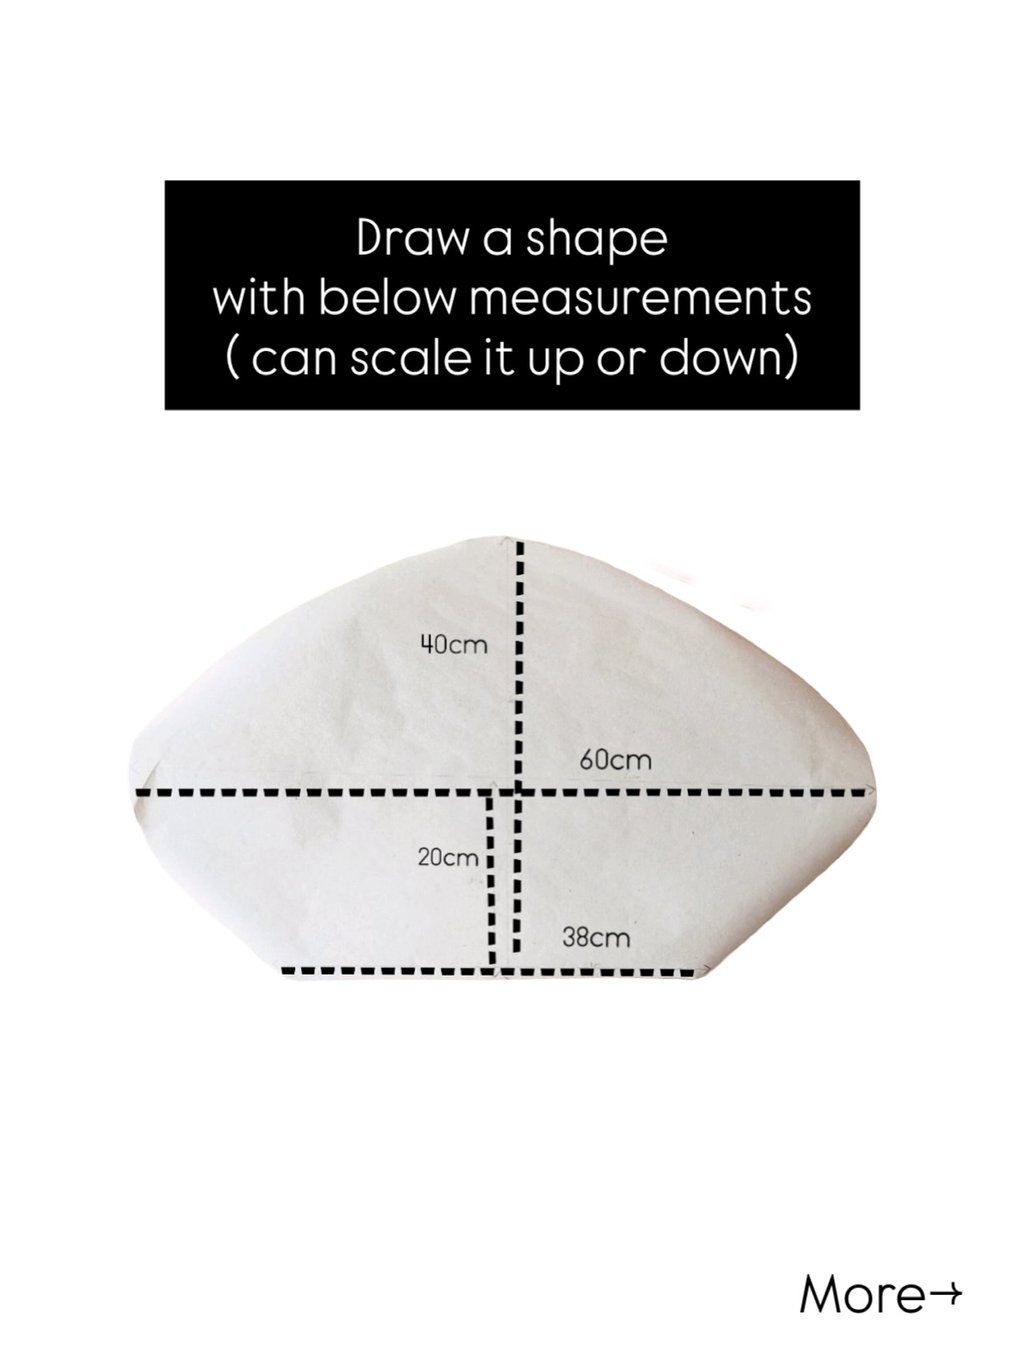
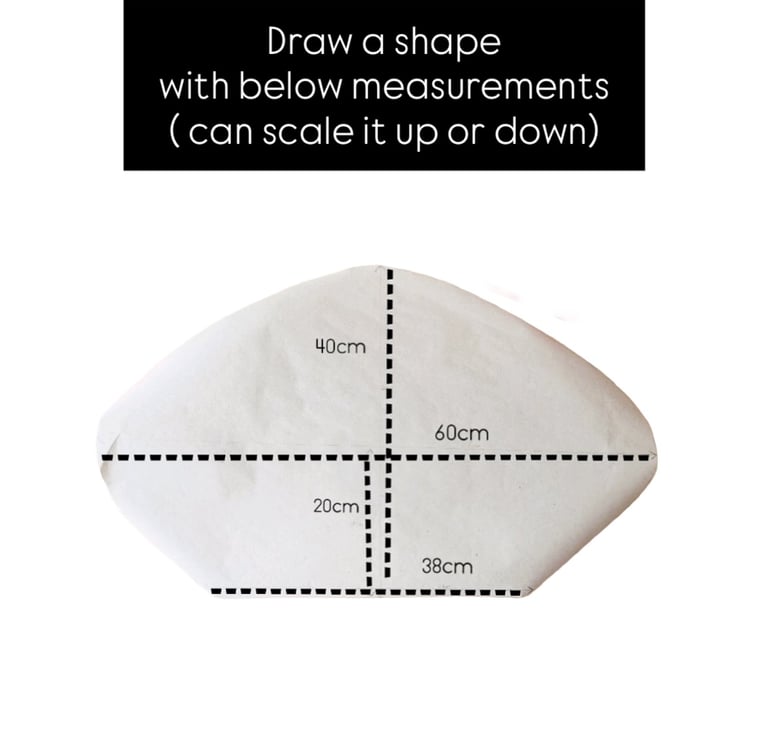
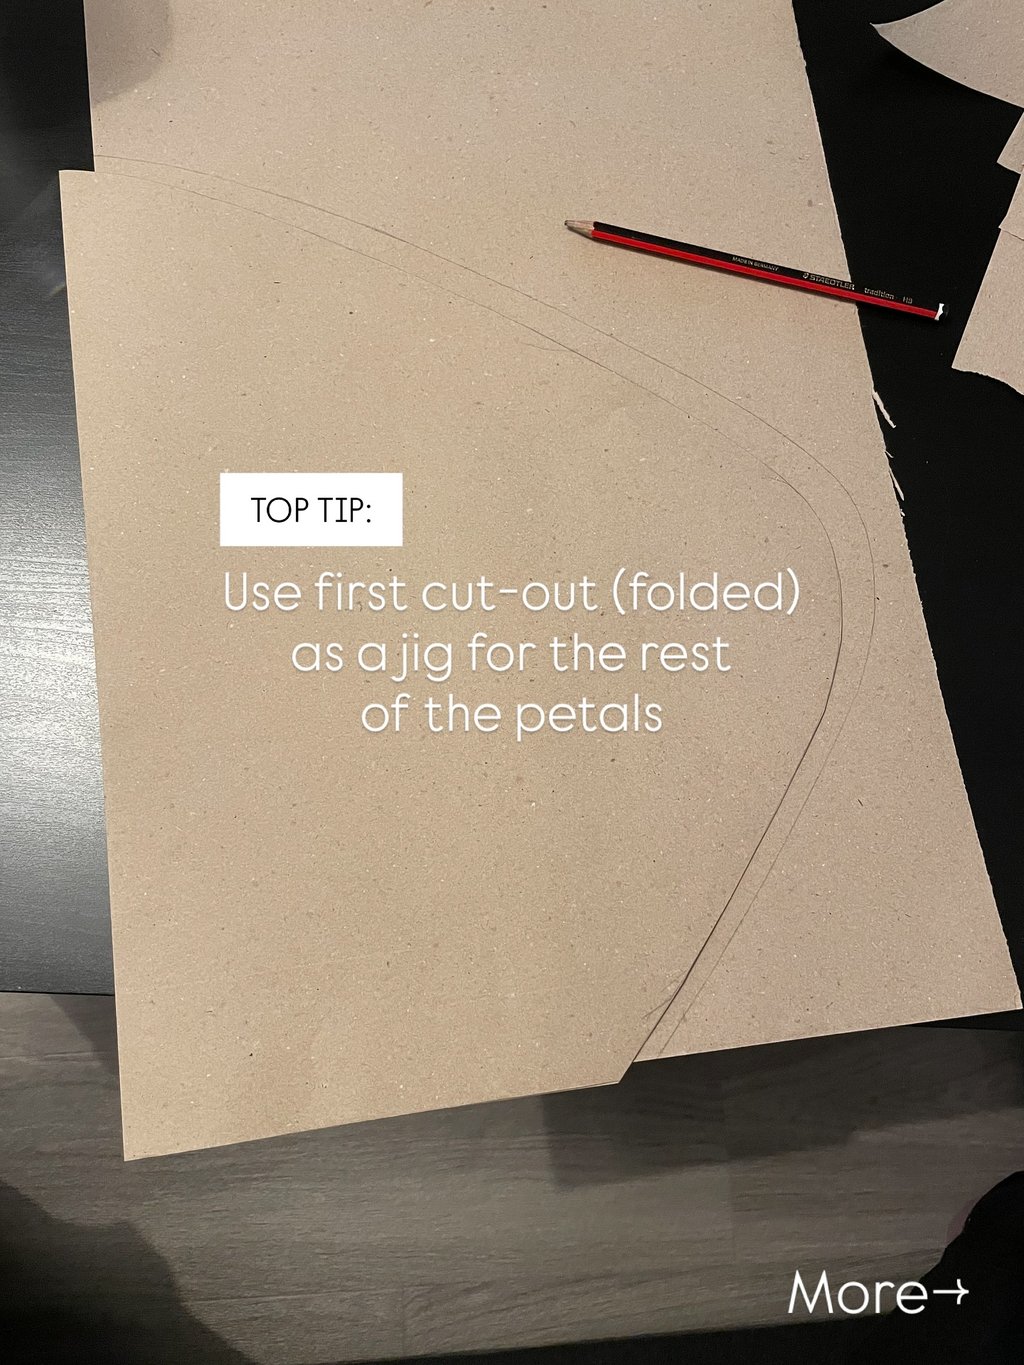
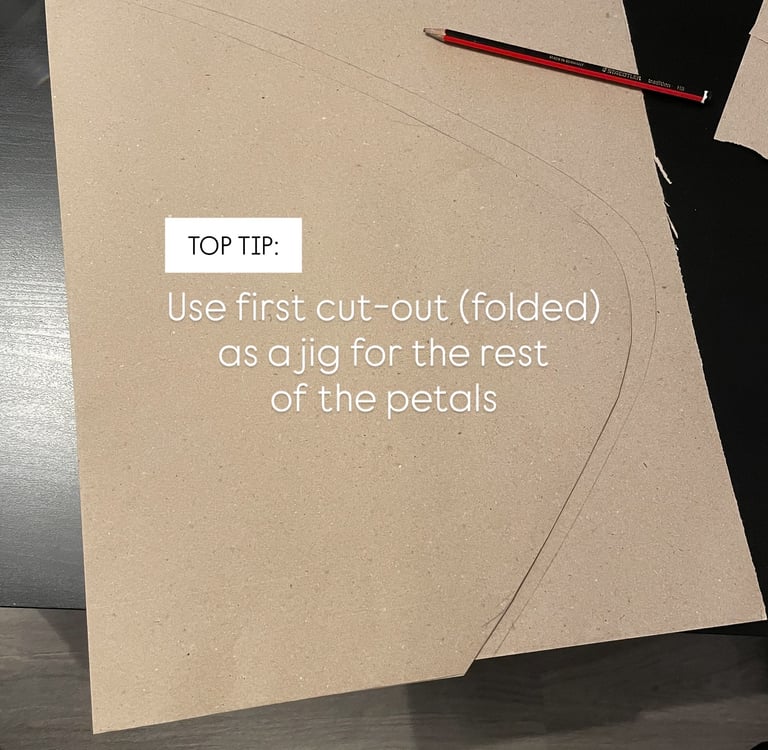
Step 1: Cut Your Paper
Cut your brown paper into rectangles around 60x40 cm (23.5 x 15.75 inches). The size can be adjusted depending on how big you want your lampshade to be. You’ll need around 15 sheets, or any increment of 5, depending on your design.
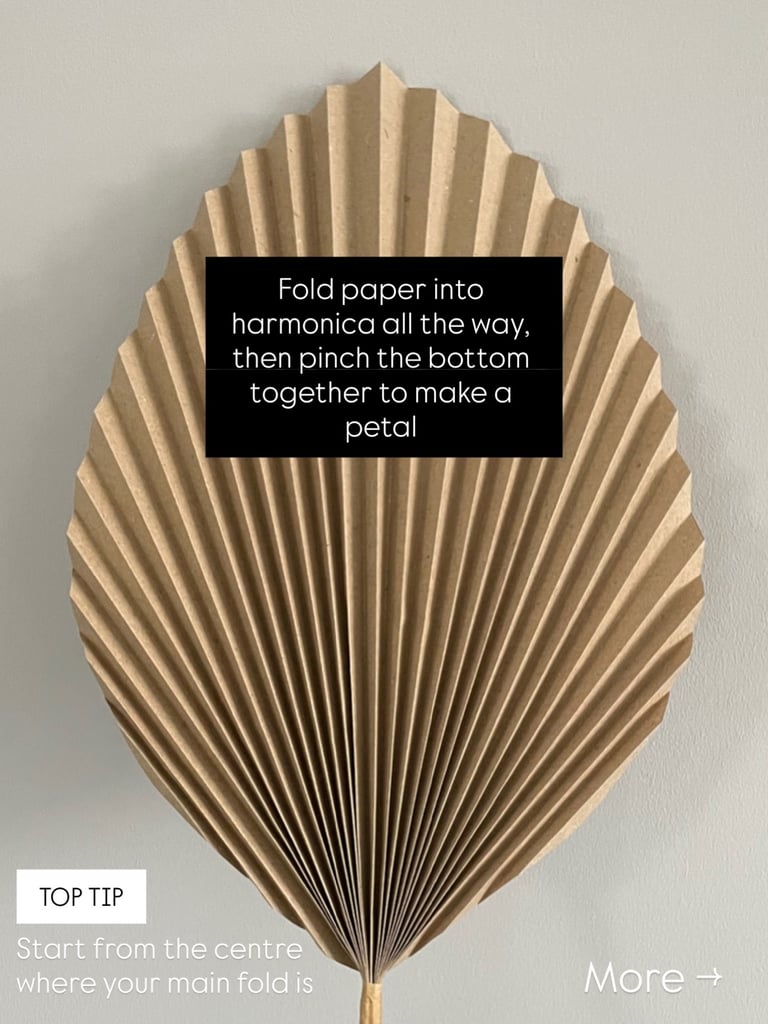
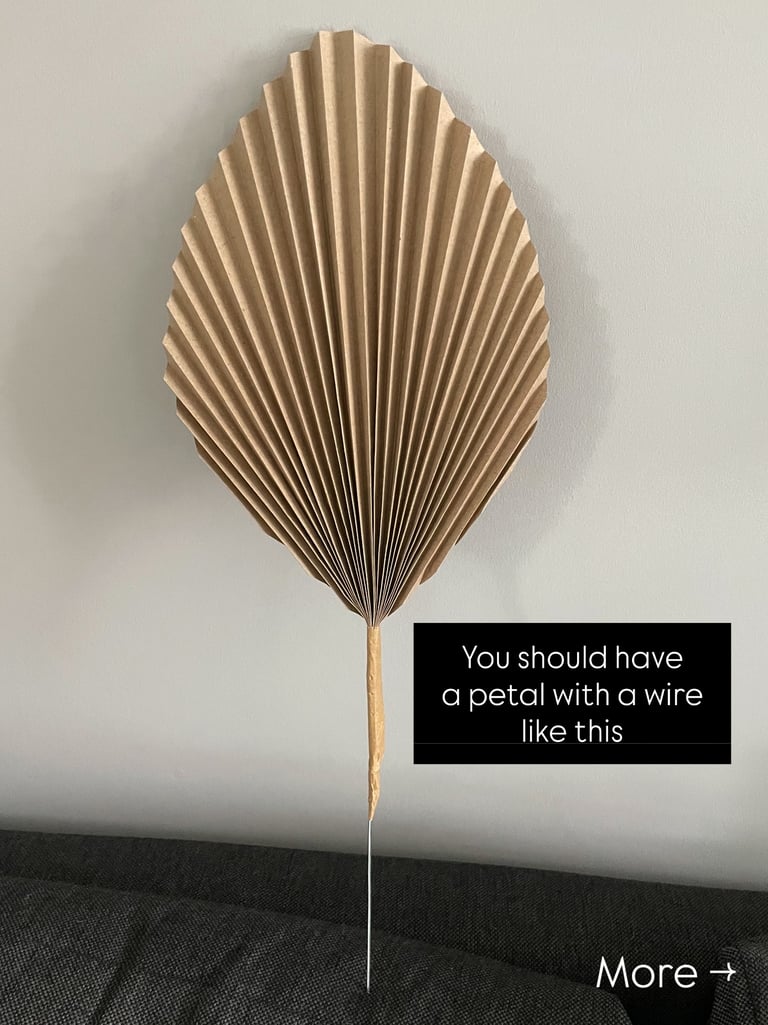
Step 2: Fold the Petals
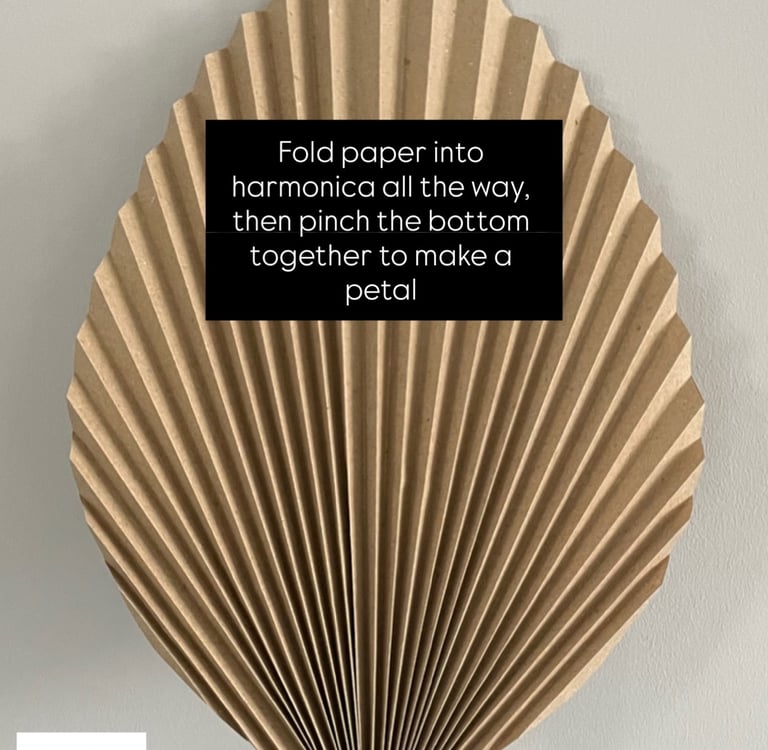
Fold each paper sheet accordion-style along the short edge. Aim for folds around 1–2 cm wide (about 1/2 inch). Press firmly so the folds are crisp. Once folded, you should have a flat fan-like piece.
Then, fold the entire fan in half lengthwise to create a petal shape.
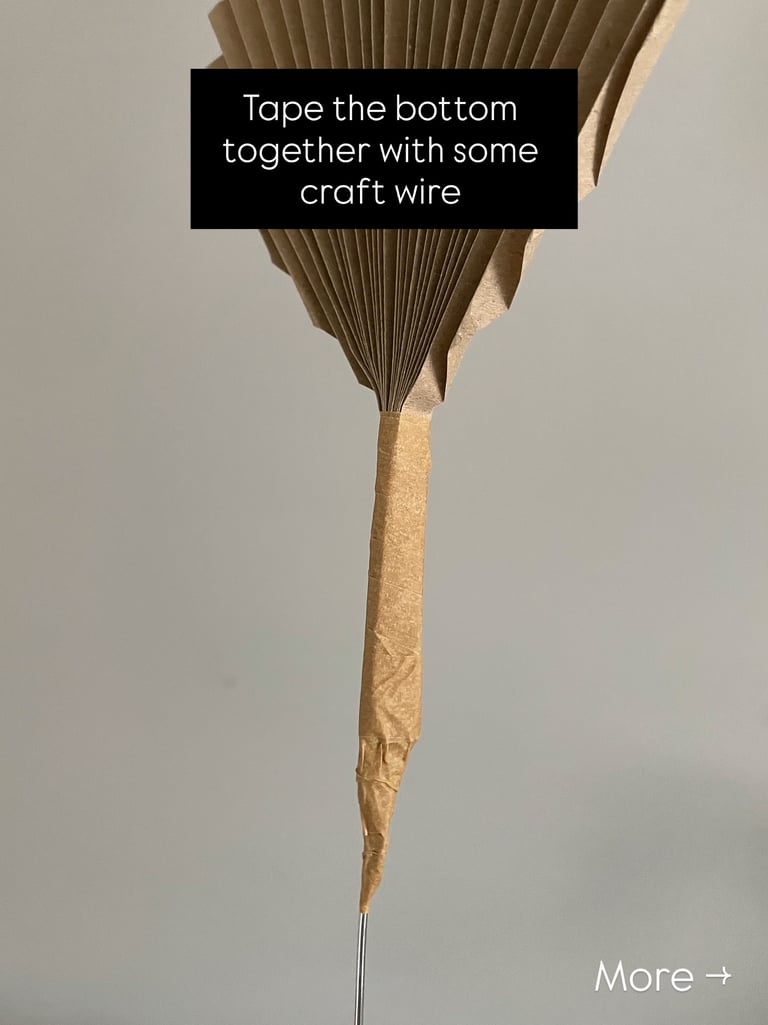
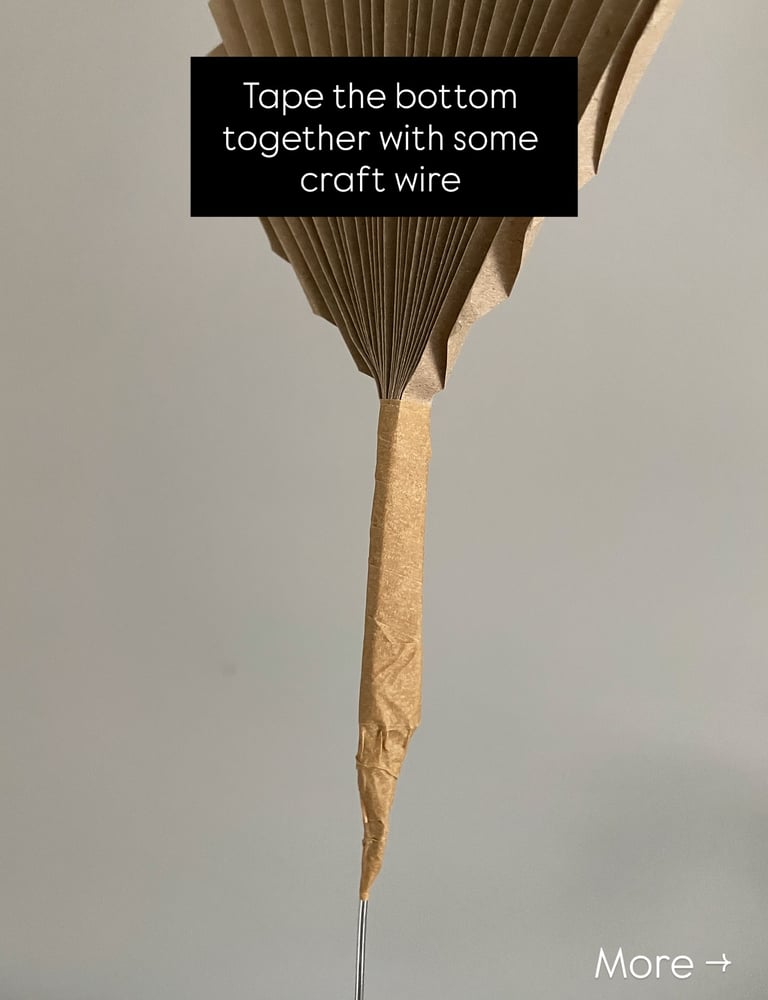
Step 3: Tape the Edges
Tape the folded edge closed with your paper tape or masking tape. Remember to tape in craft wire for support and to attach the petals together. Repeat this process for all of your paper pieces — you’ll end up with multiple folded “petals” that form the flower shape.
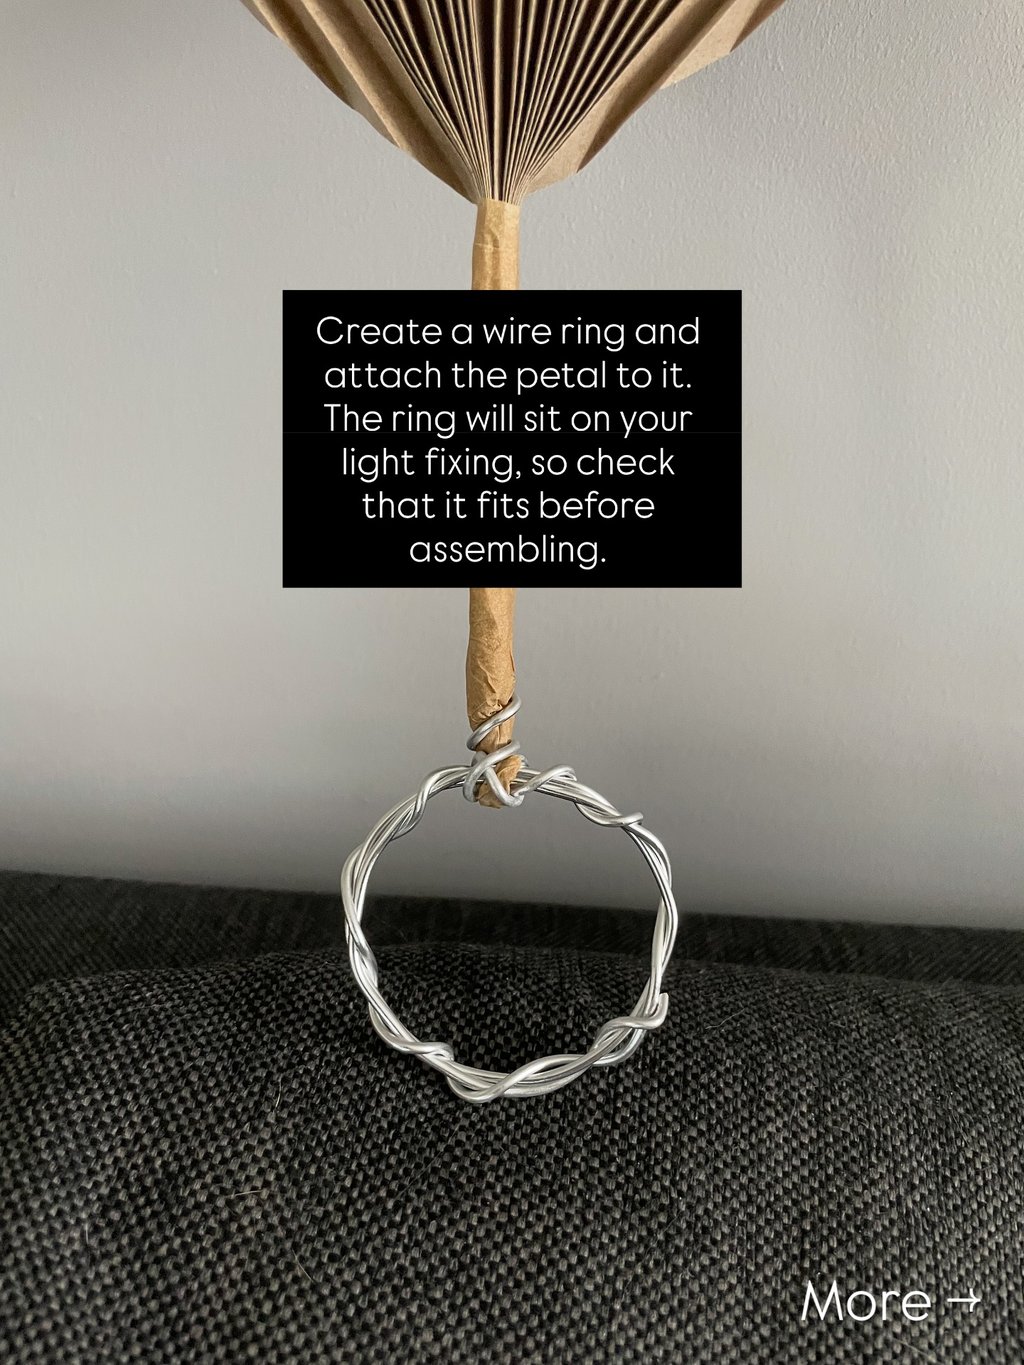
Step 4: Centre Ring out of Craft Wire
To help petals sit around the bulb fitting, use craft wire to create a ring. Check the size of the light fixing you want to use and make sure the wire ring fits around it. Leave some extra space to accommodate for extra wire from attaching the petals.


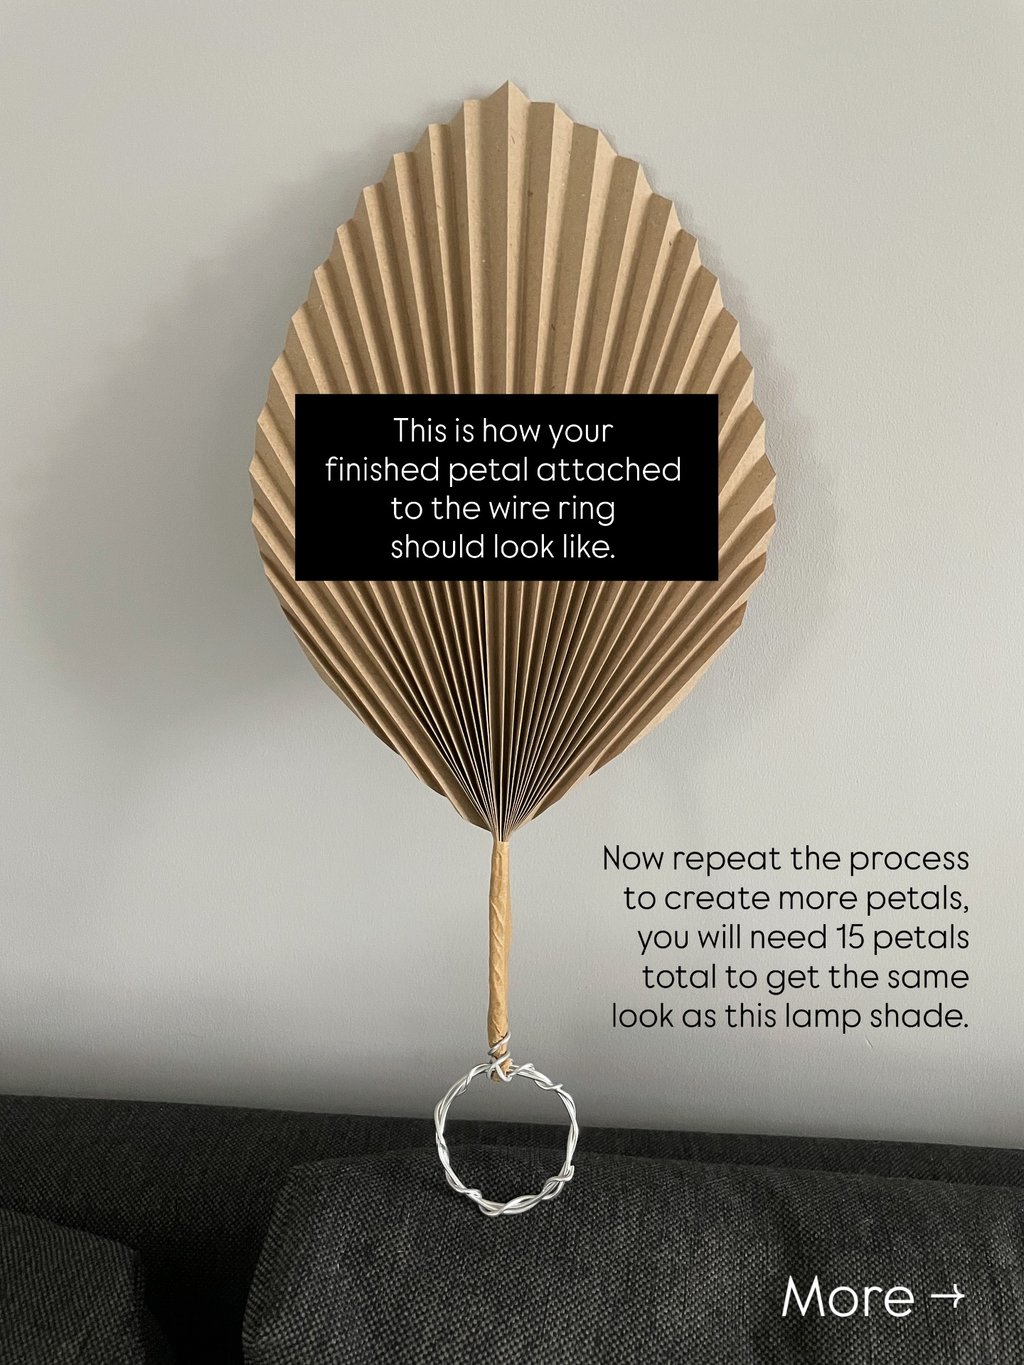
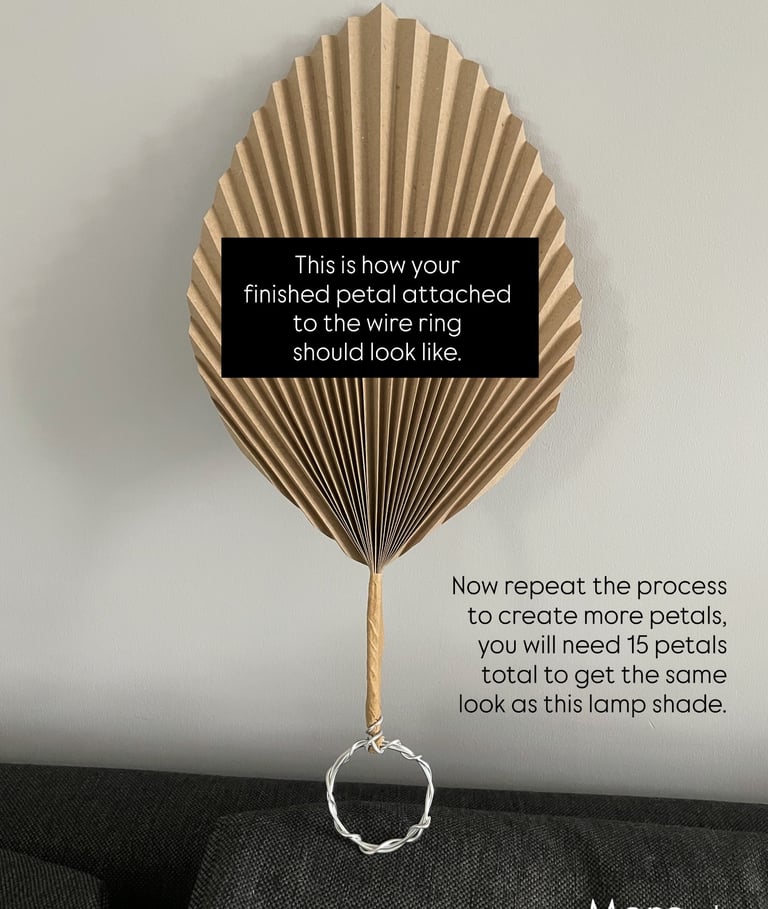
Step 5: Attach Petals together
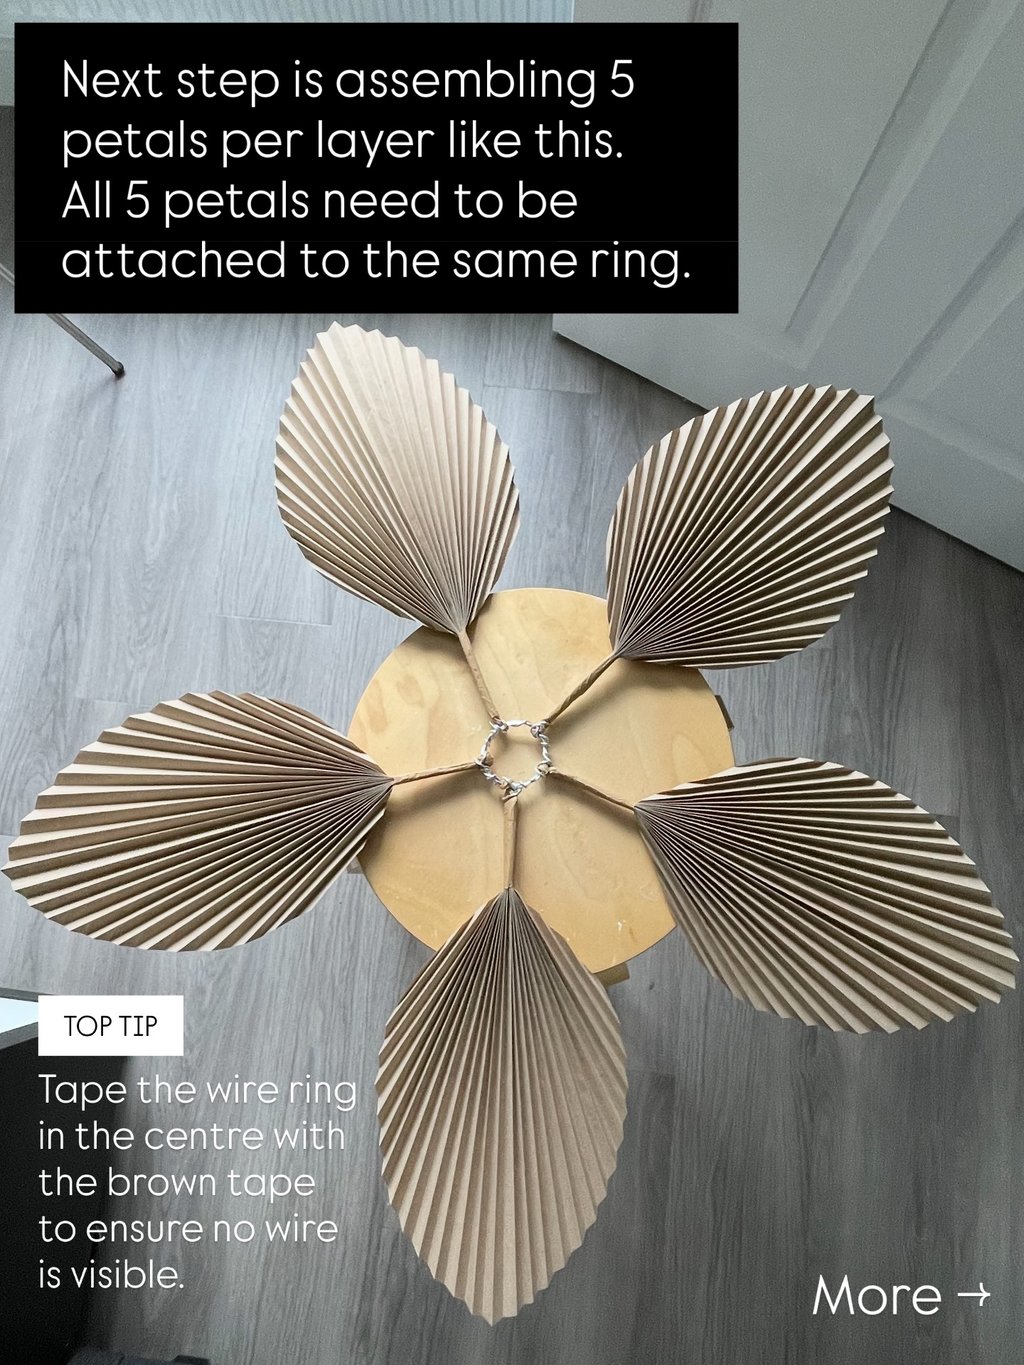
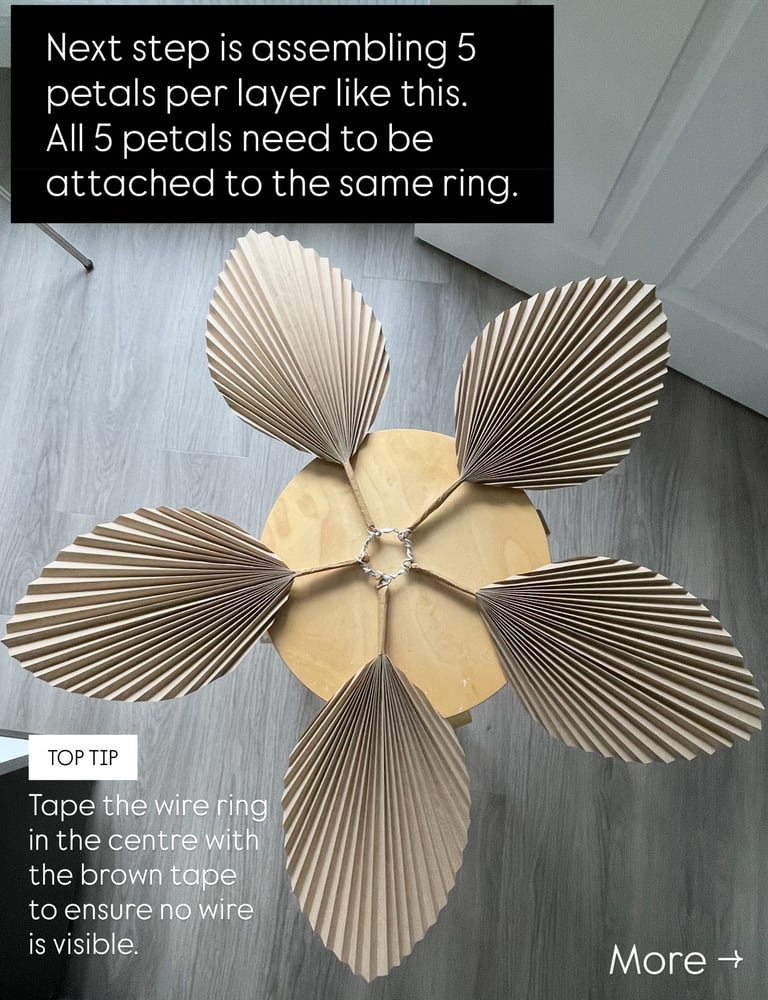
With the wire from each petal, attach 5 of them onto the wire ring. Depending on how full or open you want the shade, you can use fewer or more petals. To help cover the wire ring, tape around it with a brown tape to make it look nice and neat from the outside.
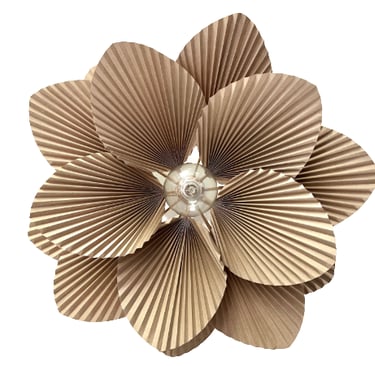
Create 3 sets of 5 petal flowers, you can add on top of each other. You could only use 2 layers, but I found 2 layers don't make the lampshade pop as much and it looks a little flat. 3 layers worked best for me, you can try and add 4th or even 5th one, if you have high ceilings in your home and chunkier shape might look better. In a new-build home, where ceilings are relatively low, 3 layers were perfect.
Step 6: Attach to Bulb Fitting
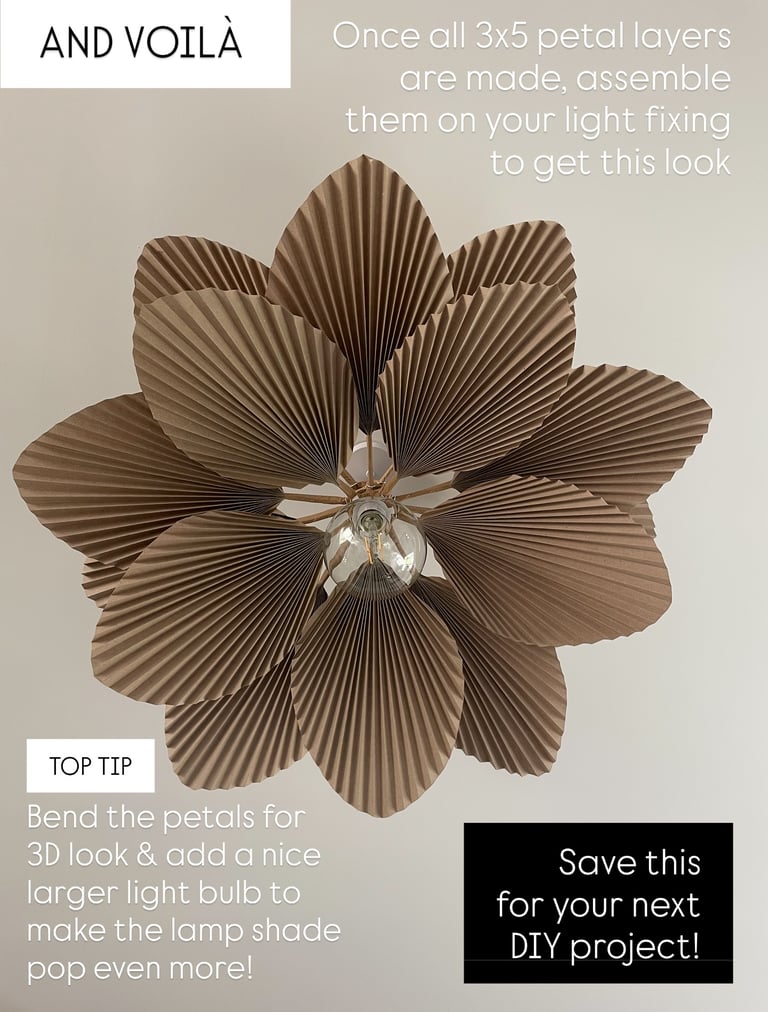
This method would allow you to assemble the lampshade onto existing light fixing that any new build home already has installed. Remove the light bulb and follow the usual steps of attaching any type of lam shade, with the difference that you will attach your 3 petal layers. I also used one of the Lamshade Reducer rings which helped hold the rings in place firmly.
Once the lampshade (the petal layers) are all assembled, you can bend them down or side-ways to create more 3D effect until you are happy with the look.
The final touch is using a unique style (retro) light bulb to bring the lampshade to life. Always use a low-heat LED bulb for safety.
TOP TIP:
If you are like me and tend not to turn on big lights around the house and instead use ambient lights around the room, then you can go all crazy with the look of your light bulb that feels like it will fit best visually (over the functionality). Often retro light bulbs won't give as much light as standard light bulbs.

🛠️ Materials list:
(with affiliate links included for your convenience):
Brown paper I used brown craft wrapping paper – but any similar paper will work as long as it’s slightly stiff and large enough.
Scissors A good pair of sharp craft scissors will make clean cuts easier.
Ruler or measuring tape For measuring your folds and scaling your design. I used a metal ruler like this.
Tape Use brown paper-based tape or masking tape that matches your paper.
Craft wire To shape and support the lampshade. I used 3mm soft wire — sturdy but flexible.
Light Bulb This shade works best with a basic hanging bulb or pendant fitting. Make sure you pick the right type of attachment: E27 Edison Screw light bulb or B22 Bayonet light bulb.
Lampshade Reducer Ring: Optional Lampshade Reducer rings to help hold petal layers in place safely