Transforming Wine Corks into Classy Wall Art: your next DIY craft project
Transforming Wine Corks that you have been saving into Classy Wall Art: your next DIY sustainable craft project
DIY

Introduction to Cork Art
Cork art is an innovative and creative method for repurposing corks from wine and beverage bottles into stylish decor pieces, notably wall art. The appeal of utilizing corks lies in their unique texture and natural hues, which can enhance the aesthetic value of any living space. Corks are not only lightweight and versatile but also adaptable to various design aesthetics, making them an ideal material for both contemporary and rustic-themed wall art.
There is a growing trend toward sustainable crafting, and cork art stands at the forefront, offering a way to reuse materials that would otherwise end up in landfills. This practice not only highlights the importance of environmental consciousness but also emphasizes creativity. By transforming discarded corks into beautiful wall art, individuals contribute to reducing waste while crafting unique home accents. The tactile nature of cork provides depth and warmth to pieces, making artworks created from corks appealing and inviting in any setting.
Moreover, the process of creating cork art can be incredibly fulfilling, allowing individuals to express their personal style. Whether one chooses to create a collage, a wall-mounted sculpture, or even a functional piece such as a cork bulletin board, the possibilities are endless. Engaging in cork art projects can be a great way to spend quality time with family or friends, as they offer opportunities for collaboration and sharing of ideas. With an easy and accessible approach, this guide will explore how to transform simple corks into exceptional artwork, ensuring that anyone can partake in this satisfying and environmentally friendly endeavor.
"This post contains affiliate links and I may earn a commission if you purchase through these links"
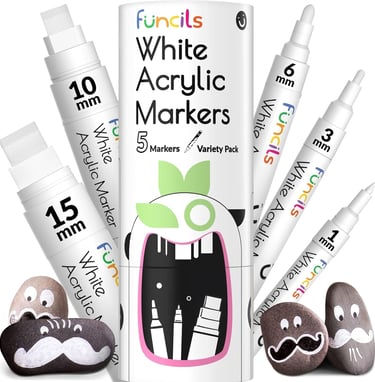
Materials you will need to create your artwork so you can get them all from one place:
Wine corks, lots of them
Line art design you can trace (or letter stickers)
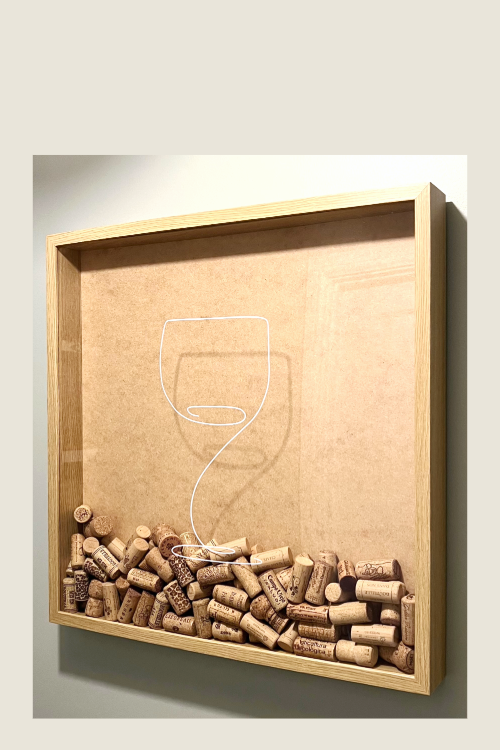
Creating the Cork Frame and Assembly
The assembly of your cork art piece begins with preparing a suitable frame. Start by selecting a frame that complements the overall design you envision. To create space for inserting the corks, cut out a corner from the frame using a saw or a utility knife. This opening will serve as the main entry point for organizing your corks in an aesthetically pleasing manner. Ensure the cut is smooth; any rough edges can be easily sanded down for a polished finish.
Next, consider the arrangement of corks within the frame. Begin by laying out the corks on a flat surface to explore various configurations. This will help you visualize the final piece and make adjustments as necessary. Aim for a harmonious blend of colors and shapes for the most visually appealing outcome. Group similar colors together, or create sections featuring contrasting shades to achieve a dynamic look. Remember that balance is essential; distribute the corks evenly across the frame to avoid a cluttered appearance.
Once satisfied with the layout, secure the corks into the frame using a strong adhesive or hot glue. Apply the glue sparingly to the cork bases, ensuring they adhere well to the backing material or frame. For added stability, consider placing weights on the corks during the drying process. This will help them stay in position while the adhesive sets. After assembling the corks, evaluate the artwork for any final adjustments necessary to achieve your desired effect.
For the finishing touches, you might want to varnish the frame or add decorative elements like small plants or embellishments. Once the art piece is complete, determine the best way to display it. Hanging the artwork at eye level can enhance its visual impact. Use sturdy picture-hanging hardware to ensure safety. By exploring your creativity throughout this project, you can make a unique cork wall art piece that reflects your individual style.
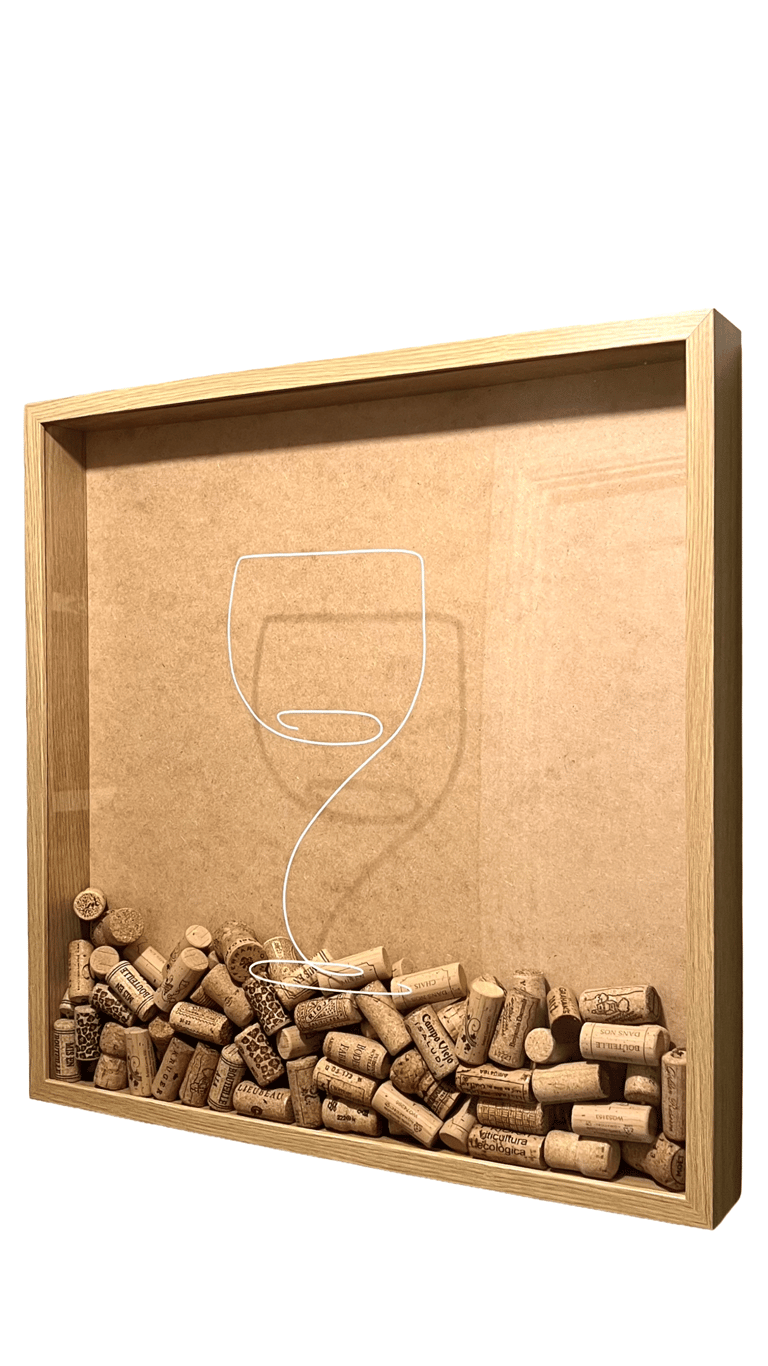
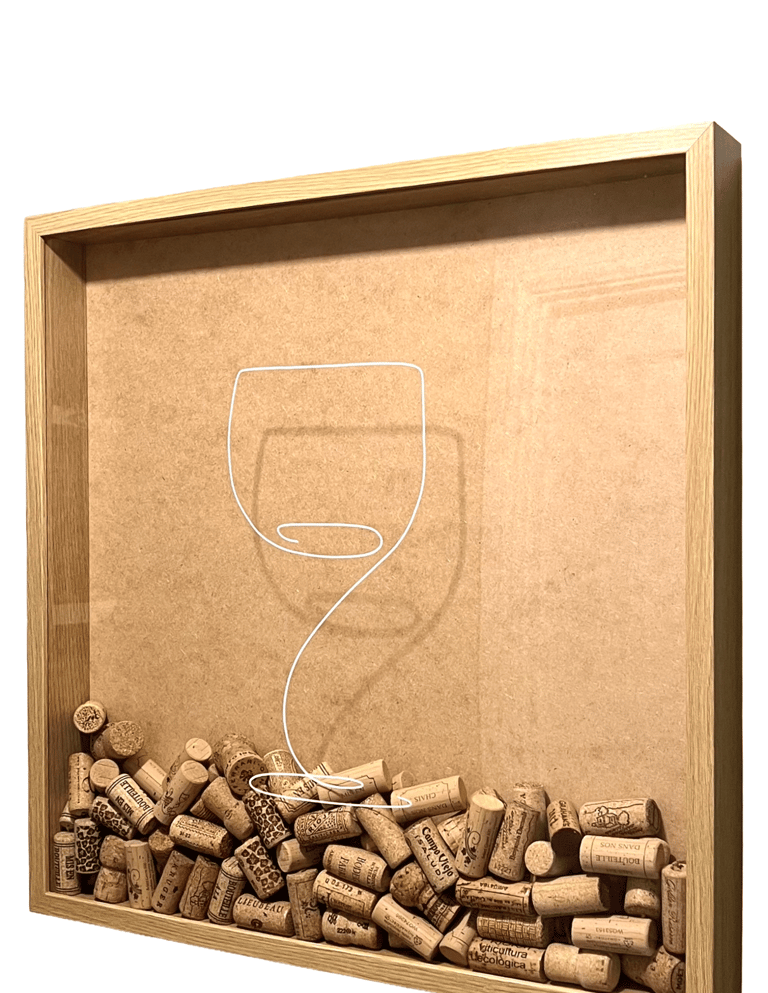
Transferring the Design to Acrylic or Glass
Transferring your meticulously designed artwork onto an acrylic sheet or glass sheet is an essential step in creating sophisticated wall art from corks. To begin, gather the necessary materials: take the acrylic sheet or glass sheet off the picture frame and peel off any film that might be attached; take white markers or oil-based paint pens, a pencil for preliminary sketches, or alternatively letter sticker for your desired design, and masking tape to secure the sheet on the flat surface.
Start by securing your acrylic/glass sheet on a clean, flat surface using painter’s tape to prevent it from slipping during the tracing process. If you are using a projector or lightbox, place the design underneath your acrylic sheet to ensure that the lines are clearly visible. This can make it easier to achieve precise transfers of the line art. If you are not using projection, you may lightly outline the major components of your design with a pencil. This way, you’ll have a better guide when you begin tracing with your white marker.
When you are ready to transfer your design, carefully trace over the pencil outlines (if used) or the clear lines projected onto the acrylic with the white marker. It is important to maintain a steady hand and even pressure to create clean lines. Should you make any mistakes, you can easily correct them by using a damp cloth or paper towel to wipe away the unwanted marks. Allow the surface to dry completely before moving to the next stage of your project, as this will help prevent any smudging.
Please note that rubbing too hard might scratch the acrylic sheet and the scratch marks might be visible. It happened to me, but they are not too noticeable, so I decided to keep the same sheet in the frame.
Acrylic is significant in this process as it provides an elegant and glossy backdrop for your cork artwork, enhancing its visual appeal. Utilizing this medium not only adds depth to your design but also allows for creative exploration, making the art piece unique to your artistic vision. With practice and patience, you will gain confidence in your ability to create stunning wall art that transforms simple corks into a captivating focal point.
Designing Your Line Art
Creating a successful cork wall art piece begins with designing an engaging line art illustration. A simplistic approach to line art is essential, as it allows the unique texture and characteristics of cork to shine through without overwhelming the viewer. Start by selecting a theme or subject that resonates with your personal style or the décor of the intended space. Whether it is a geometric pattern, abstract design, or a minimalistic representation of a natural element, the key is to maintain simplicity.
Once you have chosen your theme, you can either sketch your design by hand or utilize digital tools for a polished outcome. There are numerous digital drawing applications available that provide versatility and ease of use, allowing you to experiment with various designs effortlessly. If you prefer working with existing designs, search for inspiration on platforms like Pinterest or Behance. Look for images that incorporate clear lines and sufficient space within the design, which are crucial for effectively integrating the cork material.
While designing, always keep the size of your final piece in mind. Scale your illustration accordingly to ensure it complements the dimensions of the cork utilized. A design that is too detailed may not translate well when converted into a cork art format, so opt for broader strokes and fewer intricate details. This approach not only enhances the aesthetic appeal of the artwork but also makes the project approachable for individuals with varying levels of artistic expertise.
Finally, remember that the purpose of your line art is to enhance, rather than overpower, the natural elements of cork. A well-executed minimalist design can elevate your artwork and create harmony within your space. By following these principles, you can design an effective line art piece that serves as the perfect foundation for your cork wall art project.
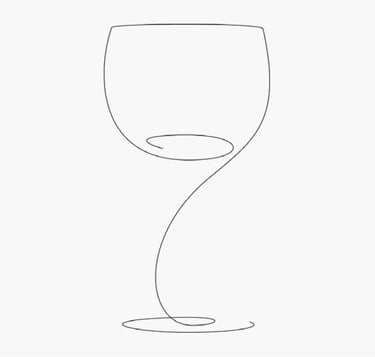
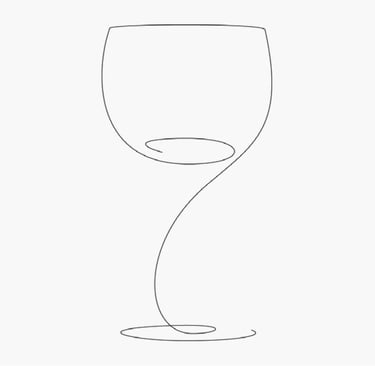
Below is an example of a simple wine glass line art I created for my design, which I then printed out on a peace of paper in the exact size, and then traced it with the white acrylic marker.